how to charge vapes
Vapes have become incredibly popular in recent years, offering a convenient and enjoyable alternative to traditional smoking methods. One crucial aspect of using vapes that many users overlook is the proper way to charge them. In this guide, we will take you through everything you need to know about charging vapes, from understanding the basics to troubleshooting common issues. So, grab your vape and let’s dive in!
Understanding Vape Charging Basics
Before we get started, it’s essential to understand that different types of vapes have different charging requirements. Let’s explore the various types of vapes and their charging needs.
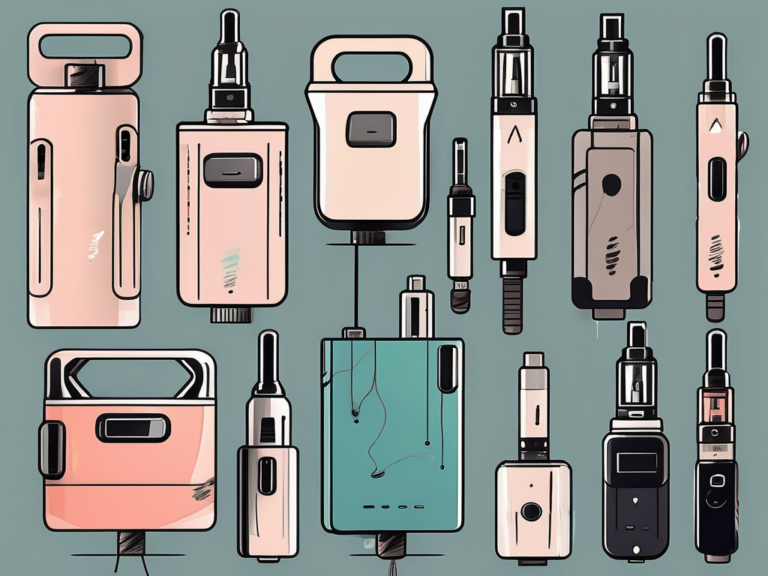
Types of Vapes and Their Charging Requirements
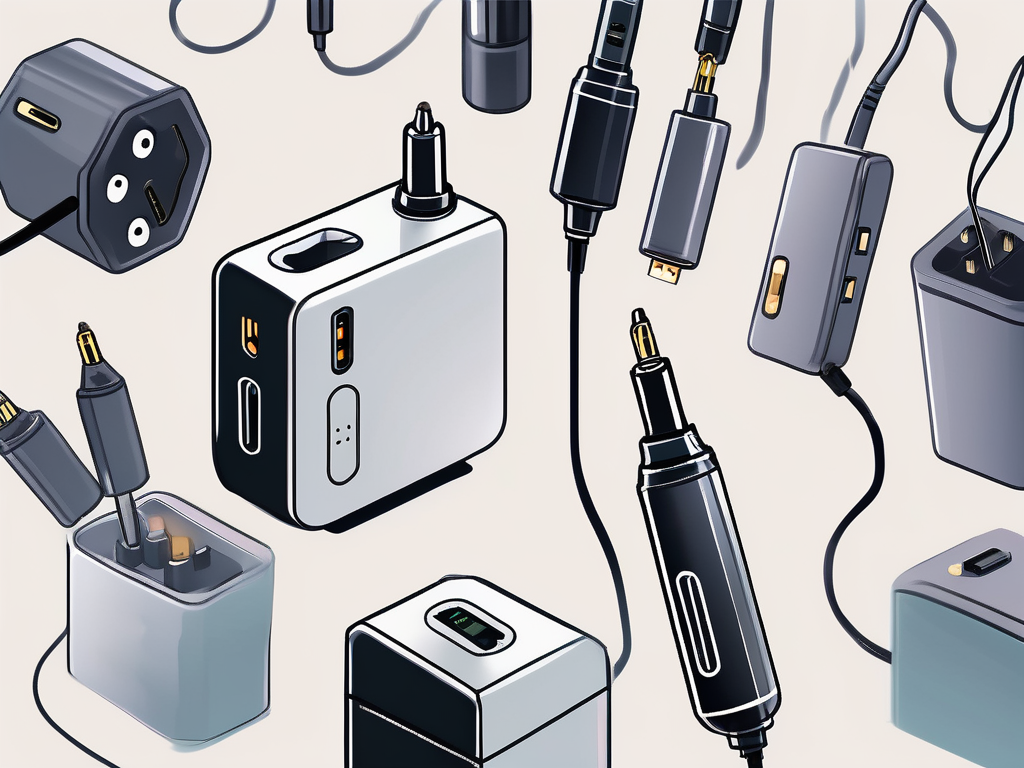
There are several types of vapes available in the market today, including pod systems, vape pens, and box mods. Each type has its own unique charging requirements, which you must be aware of to ensure the longevity and optimal performance of your device.
Pod systems, like the popular Juul, usually come with a proprietary charger specifically designed for that particular device. You need to connect the charger to a power source and attach the pod system magnetically for a quick and hassle-free charging experience.
Vape pens, on the other hand, often support USB charging. This means you can connect the vape pen directly to a USB port or use a USB charger. It’s essential to check the manufacturer’s instructions to confirm the optimal charging method for your specific vape pen model.
Box mods, which offer more advanced features and customization options, typically require external batteries. These batteries can be charged using a dedicated charger that supports the specific battery type of your mod. Always ensure you’re using the correct charger to prevent any mishaps.
Essential Components for Charging Vapes
Regardless of the type of vape you own, there are a few essential components you need to have for a smooth and safe charging experience:
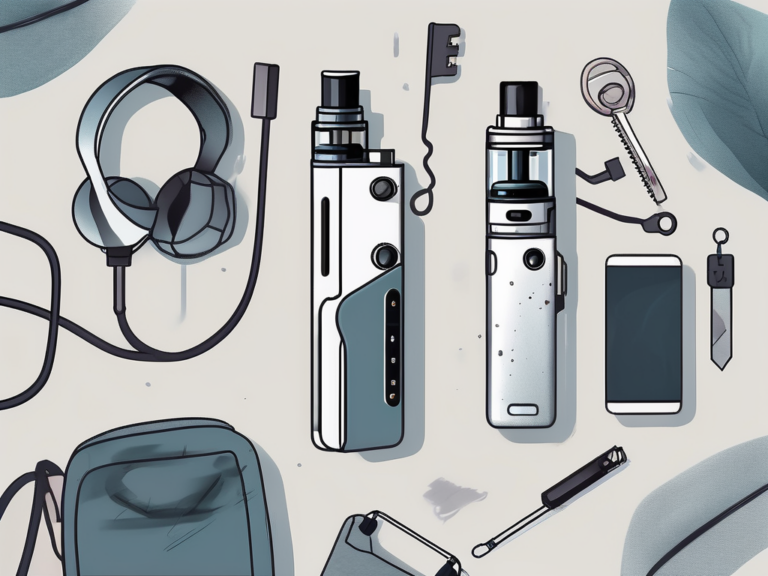
- A compatible charger: Make sure you have the correct charger for your specific vape model. Using a charger that isn’t designed for your device can lead to battery damage or even accidents.
- A power source: You can charge your vape using a wall adapter, a USB port on your computer, or a power bank. Always use a reliable power source to ensure a consistent and safe charging process.
- Proper cables: If your vape uses a USB charger, ensure you have a high-quality USB cable that can handle the required current. Using damaged or low-quality cables can lead to slow charging, device malfunction, or even electric shock hazards.
Additionally, it’s worth noting that some vapes come with built-in safety features to prevent overcharging and overheating. These features are designed to protect both you and your device. However, it’s always a good idea to monitor your vape while it’s charging and never leave it unattended for an extended period.
Furthermore, it’s important to keep your vape and its charging components clean and free from any debris or liquid. Regularly inspect the charging port and cables for any signs of damage, and if you notice anything unusual, it’s best to replace the faulty parts immediately.
By understanding the charging requirements of your specific vape and following the recommended guidelines, you can ensure a reliable and safe charging experience. Remember, taking care of your vape’s battery is crucial for its overall performance and longevity.
Safety Measures While Charging Vapes
Now that you have a good understanding of the basics let’s talk about some essential safety measures you should follow during the charging process to protect yourself and your vape.
Ensuring the safety of your vape while charging is paramount to avoid any potential hazards. By following a few simple guidelines, you can protect both yourself and your device, extending its lifespan and maintaining optimal performance.
Preventing Overcharging
Overcharging can weaken the lifespan of your vape battery and potentially lead to overheating or other safety hazards. To avoid overcharging, follow these simple steps:
- Always remove your vape from the charger as soon as it reaches full charge. Leaving it connected for an extended period can damage the battery and shorten its overall life.
- If your charger has built-in safety features like auto cutoff or LED indicators, utilize them to prevent overcharging incidents.
Additionally, it is advisable to avoid using third-party chargers that may not be compatible with your vape, as they can pose a higher risk of overcharging and battery damage.
Proper Handling and Storage of Vapes
When charging or not in use, it’s crucial to handle and store your vape properly to ensure its longevity and safety. Here are some essential tips to keep in mind:
- Avoid exposing your vape to extreme temperatures, both during charging and storage. Extreme heat or cold can damage the battery and other internal components.
- Keep your vape away from water or any liquids to prevent accidental damage or short circuits.
- Store your vape in a clean and dry place when not in use. Avoid keeping it in direct sunlight or near flammable materials to minimize safety risks.
Furthermore, regularly inspecting your vape for any signs of wear and tear, such as frayed wires or damaged battery casings, can help prevent potential accidents and ensure the safe operation of your device.
Step-by-Step Guide to Charging Vapes
Now that you’re well-equipped with the necessary knowledge and safety precautions, let’s walk through a step-by-step guide to properly charge your vape.
Charging your vape correctly is crucial not only for the longevity of your device but also for your safety. By following these steps diligently, you can ensure a smooth and efficient charging process that keeps your vape in top condition for a long time.
Preparing Your Vape for Charging
Before connecting your vape to the charger, there are a few key steps you should follow:
- Turn off your vape: Always remember to turn off your device before charging it. This prevents any accidental activations and reduces the risk of mishaps.
- Clean your vape: It’s a good practice to clean your vape regularly, including the charging port. Use a soft cloth or cotton swab to remove any dust or debris that might prevent a proper connection.
- Check for any visible damage: Inspect your vape for any signs of wear and tear, especially around the charging port. If you notice any damage, it’s best to get it repaired by a professional before proceeding with charging.
Connecting Your Vape to a Power Source
Once you’ve completed the preparation steps, it’s time to connect your vape to a power source for charging:
- Take your charger and connect it to a reliable power source, such as a wall adapter or USB port.
- Attach the other end of the charger securely to the charging port of your device. Ensure a snug fit to prevent any loose connections.
- Observe any LED indicators or display on your vape that shows the charging progress. If your device lacks these indicators, give it ample time to reach a full charge before disconnecting.
- Once your vape reaches a full charge, disconnect it from the charger and store it in a safe place until you’re ready to use it.
- Remember to unplug the charger from the power source after disconnecting your vape. This simple step can prevent any potential hazards and prolong the lifespan of your charger.
Troubleshooting Common Vape Charging Issues
Despite following the proper charging procedures, you may encounter some common issues along the way. Here are a few troubleshooting tips to help you address these problems:
Addressing Battery Problems
If your vape battery isn’t charging or holding a charge, it might be time to replace it. Batteries degrade over time, and a worn-out battery can lead to various charging issues. Consult your device’s user manual or contact the manufacturer for guidance on finding a suitable replacement.
Dealing with Charger and Cable Issues
If your vape fails to charge or the charging process is slow and intermittent, the charger or cable might be the culprits. Check for any visible damages or loose connections. If necessary, try using a different charger or cable to see if the issue persists.
Maintaining Your Vape for Optimal Charging
Now that you know how to charge your vape correctly let’s discuss some maintenance tips to ensure it continues to provide you with excellent charging performance.
Regular Cleaning and Care
Regularly cleaning your vape can help prevent charging-related problems and preserve its overall functionality. Here are a few cleaning and care tips to incorporate into your routine:
- Wipe down your vape regularly with a soft, lint-free cloth to remove any dust or debris.
- Clean the charging port and connections gently using a cotton swab or toothpick to remove any buildup that may hinder proper charging.
- Inspect the battery terminals and contacts for any signs of corrosion or damage. If you notice anything unusual, consult a professional for assistance.
When to Replace Your Vape Battery
Vape batteries have a limited lifespan and will eventually require replacement. Here are a few signs that indicate it’s time for a new battery:
- Your vape no longer holds a charge for an extended period.
- The charging process takes significantly longer than before.
- You notice a decline in overall vape performance, such as reduced vapor production or weaker flavor.
Remember, always consult the user manual or contact the manufacturer for guidance on replacing your specific vape battery.
With this comprehensive guide, you now have all the knowledge you need to charge your vape correctly and safely. By following the provided instructions and taking necessary precautions throughout the process, you can ensure the longevity and optimal performance of your device. Happy vaping!